There are numerous species of wood that are used for woodworking around the world.
Each species has different rules for getting the most out of that particular type of wood. In this list, find woodworking tips for dealing with just a few of the most popular varieties of wood used for woodworking, such as oak, maple, pine and more.
1. Oak
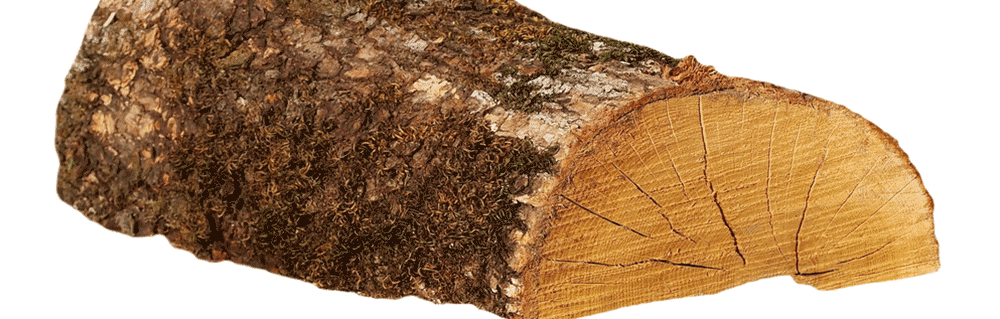
Oak is one of the most revered and appreciated species of stock used in fine woodworking projects. It is hard, strong, and when finished properly, absolutely beautiful. Oak can also be a royal pain to work with.
However, there are some things that you can keep in mind when working with oak that will help ensure the results you desire with a minimum of additional effort.
Types of Oak:
There are a lot of differences between oak species.
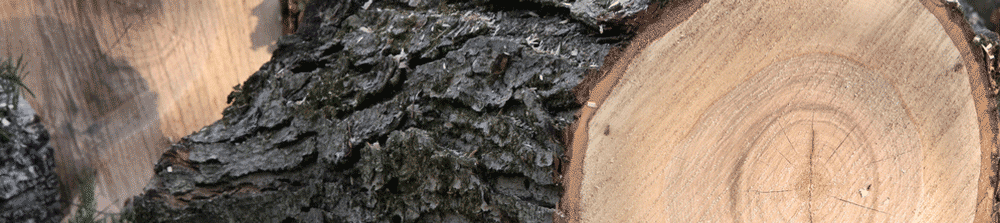
European oak is generally held in much higher regard than American oak. For instance, a considerable number of the churches and wooden ships that remain today from centuries ago were constructed primarily of English Oak. This remarkably beautiful and strong species is very difficult to come by today, but many other varieties of oak of varying strengths and properties are readily available throughout Europe.
By comparison, American varieties of oak are not as revered. American White Oak is a bit more preferable to Red Oak, as red oak is more liable to shrink and with its open grains, is very porous. White Oak is more closed-grained and is nearly impervious to water.
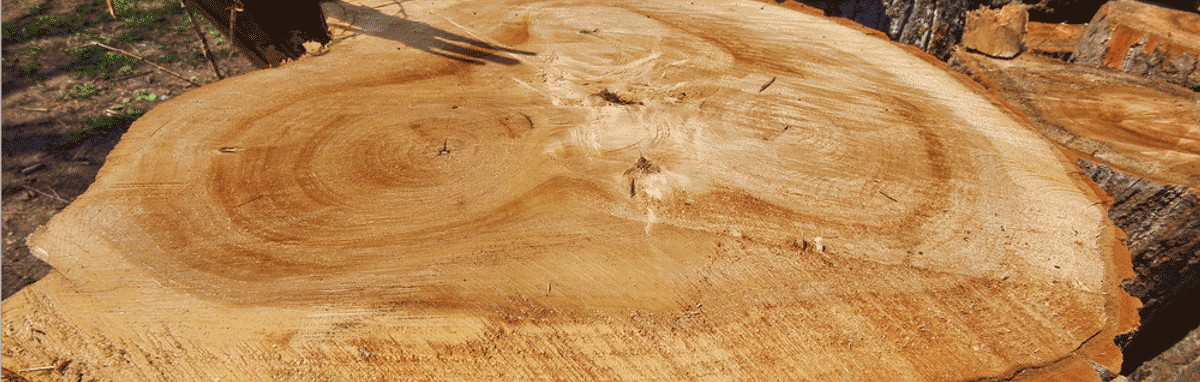
Working With Oak:
The first rule for working with oak is to exercise a lot of patience. Oak responds to finesse rather than brute strength. For instance, when routing an edge on a piece of oak, rather than routing the entire profile in one pass, it is much more preferable to cut the profile in two or three passes. Because of its heavy graining, oak can chip or split easily when routing edges on the stock, removing chunks of material rather than small chips.
The result is often far less than desirable.
A second tip for working with oak is to make sure that your tools are extremely sharp. Oak is a hardwood that can dull tools more than many other common types of material, so keeping your woodworking tools finely honed becomes more important when working with oak.
Oak is also quite susceptible to burning. Keeping your woodworking tools sharp, as well as operating tools, such as router bits, at appropriate speeds will help prevent this problem.
Finishing Oak:
Many woodworkers prefer to finish oak as minimally as possible, as they feel this really shows off the wood’s character. Woodworkers who choose to use a minimalist approach to finishing their oak projects would be wise to take some extra time in sanding in many steps, using progressively finer grits of sandpaper in each step to help eliminate sanding lines. Read our article on Choosing the Right Sandpaper to learn more tips on sanding properly.
Shellac is widely used for sealing oak. One increasingly popular method for finishing oak is to apply an oil stain followed by a coat of shellac to seal the stain. Then fill any blemishes with a grain filler paste, followed by a gel stain. The final finish is a few coats of polyurethane.
2. Maple
Along with cherry, walnut and oak, maple is considered to be among the favorite hardwood choices for furniture building. Maple is generally considered to be strong, durable and very pretty when properly finished.
Maple does have it’s drawbacks. It can be temperamental, particularly when finishing, and is susceptible to shrinkage. Making sure that your maple is well-seasoned and properly acclimatized to your environment will make a big difference in how your maple woodworking projects turn out, and how they hold up over time.
Varieties of Maple:
When buying maple from your lumber supplier, you may hear plenty of names for the wood: tiger maple, curly maple, birds-eye maple, fiddleback maple, red maple, soft maple, hard maple – the list goes on.
First of all, soft maple and red maple are typically the same thing. And the term soft maple is a bit of a comparative misnomer, as soft maple is harder than many other hardwoods (such as cherry).
Soft maple is also often referred to as “tiger maple” for the tiger-like stripes in the wood, or curly maple, if the stripes are a bit more of the curly nature.
Hard maple varieties often will have more small knots that appear along the grain. This is often referred to as “birds-eye maple.”
For years, maple was the wood of choice for building musical instruments. The term “fiddleback maple” came from this industry, as properly matched boards would be used to make the large back panels of guitars and fiddles.
Woodworking with Maple:
Part of the beauty of a properly built piece of maple furniture comes from proper matching of corresponding boards. Care should be taken to ensure that grain colors and patterns between neighboring boards should match as closely as possible.
Many woodworkers will go as far as to buy thick maple stock and resaw it on a band saw, aligning the cut sides together for a perfectly matched pair of panels. This is particularly effective with tiger-striped maple used on drawer fronts and cabinet doors.
Because maple is such a hard wood, be certain that your tools, blades and bits are particularly clean and sharp.
Working with sharp tools on hard woods is not only going to product better results, but it is actually safer than if they are a bit dull, simply because the tools will cut cleaner (and be less prone to tearing through the wood).
Finishing Maple:
As with other hard woods such as cherry, maple can be a bit temperamental to finish, particularly when staining. When applying a stain, be sure to use a pre-stain conditioner to try and even out the “blotchy” patches that tend to appear. This won’t completely solve the problem though.
Stains tend to fill pores, cracks and crevices in wood. If the stain cannot find a pore to fill, it will be cleared away when the excess stain is wiped away.
The key to evening out the stain is to sand the project thoroughly, using progressively finer sandpaper grits. Start with 120 grit before moving up to 180, and finally 220. Try to evenly sand the entire project with this final sanding. Then, using some 320 grit paper, sand exposed end grain, which will tends to stain more heavily (sanding the end grain with finer grit will fill the pores of the end grain a bit more). Lightly wipe down the entire project before applying a pre-stain conditioner, followed shortly thereafter by the stain of your choice.
Another commonly used finishing technique on maple is to apply tung oil or linseed oil after the final sanding. These oils tend to bring out the curly or tiger looks of the maple. Follow the oil with a coat or two of shellac. For a more durable finish, top-coat over the shellac with a clear lacquer or polyurethane.
3. Poplar
Poplar is a species of wood that is commonly used in woodworking. You can find poplar in many furniture projects, toys and wood turnings because it is inexpensive, fairly workable and takes nails, screws and glue well. It works best with paint as a finish, but it can often be stained in an attempt to simulate finer woods (provided the proper steps are taken in the finishing process). Poplar is also used quite often for more industrial purposes, such as the core of finer plywoods or for crates and pallets.
Types of Poplar:
Poplar wood is considered a hardwood by species, but this can be somewhat confusing as it is typically softer than pine, a common softwood. In most instances, poplar (or should we say what is sold as poplar in home centers) is actually the wood from the tulip tree. It is a creamy white-colored wood with brown or gray sections or streaks through the grain. Garden-variety poplar wood is also sometimes referred to as yellow poplar or whitewood, but you may also find poplars to include European black poplar, cottonwood or some types of aspen.
Working with Poplar:
Poplar is relatively easy to work with, as it takes manipulation with a saw, lathe or router well. One key is to make sure that your cutting tools are sharp, as poplar can tend to tear if the cutting edge is less than optimal. When sanding poplar, because of it’s relatively soft nature, be sure to use progressively finer grits of sandpaper, as more coarse grits will leave sanding marks that need to be removed with the next finer grit of sandpaper. I typically find that if I start sanding with 80-grit, then move to 150, 220, 300 and finally 400-grit sandpaper is a process that yields good results.
Finishing Poplar:
Poplar is renowned for it’s ability to take paint well. It is commonly the wood stock of choice when building woodworking projects that will be painted. It is relatively resistant to decay, and when sanded, primed and painted thoroughly, should hold up well to normal wear and tear for many interior projects.
If you intend to use poplar for outdoor woodworking plans, you may need to apply a new coat of paint every couple of years, depending on the project and location of the finished piece.
Staining poplar wood is another matter entirely. In its native form, poplar tends to take stain in a very blotchy manner. It is imperative that all surfaces that will be stained be prepared properly with a couple of coats of a pre-stain wood conditioner. This will allow the stain to be applied much more evenly, and will make the grain of the poplar pop a bit more.
Some woodworkers attempt to use poplar to simulate finer woods such as maple. This can be tricky, as the grain is somewhat similar, but to the trained eye, the differences will be obvious. When attempting to mimic another wood like maple, try to use poplar that is relatively free of sections of gray or greenish stock. A bit in the grain is fine, but poplar tends to have large sections that are of a darker color than the common creamy-white.
TIP: For best results when mimicking the look of another wood with poplar, be sure to test your stain for the right color on scrap cutoffs of the same poplar boards you used in the project. Remember to apply a couple of coats of pre-stain wood conditioner to the cutoffs before applying your test stains. Fine-tuning your stain color on scrap stock is far better than staining your entire project with the wrong color.
4. Pine
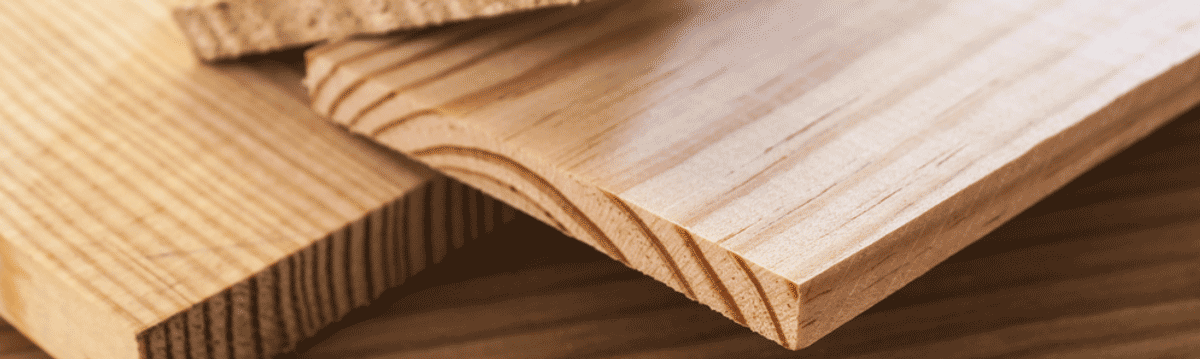
Pine is among the most common species of softwood available in home centers today. When woodworking with pine, there are many species from which to choose, but they all tend to get lumped in together, and are commonly regarded as being somewhat utilitarian in nature (good only for building shelving, framing or other projects not typically associated with fine woodworking).
While pine has it’s limitations, this is a rather unfortunate outlook.
Stable pine, particularly that of a more antique nature, is among the most revered of wood stock, and can be more stable than popular hardwoods such as maple or cherry.
In the US, the two most commonly available varieties of pine are Eastern white and yellow pine. Yellow pine is a bit harder than Eastern white pine, and can be a bit more difficult to cut.
However, when used properly, either can give fantastic results.
Most of the limitations fall into two categories. For one thing, pine tends to scratch or dent easily. Second, pine from the lumber yard is typically sold a bit wetter than optimum. This can lead to movement in the wood as it acclimates to the local environment. Fortunately, both of these limitations can be dealt with rather easily.
Dealing with Moist Pine:
Pine (and it’s cousins, Spruce and Fir, which make up the SPF triumvirate type of wood used to make most construction materials) is often kiln-dried, but rarely is as dry as optimally needed for fine woodworking. As such, when this construction material reaches a job site, it is used as quickly as possible to avoid twists, bows and cups.
The old construction axiom of “use it the day you get it” really can’t apply to fine woodworking applications of pine.
A better approach would be to pick through the stock at the home center for the best pieces you can find, then stack them carefully at your shop lumber storage location for a few months and allow them to acclimatize to the local environment.
Look for clean stock with as few knots as possible, preferably somewhat resembling quarter-sawn (with the grain lines perpendicular to the longer axis in the end grain). By allowing a stack of this wood to reach a state of equilibrium with the environment, aided by the weight of the other boards in the stack, you should have some relatively stable pine with which to work.
Of course, one should always be on the lookout for antique pine timbers. There is little more satisfying in woodworking than obtaining some 100-year-old antique long-leaf pine from an old abandoned barn or house and turning that recycled lumber into works of art.
After your stock has had a chance to reach a state of equilibrium with the environment, you may still have some cupping or warping issues with which to deal. Fortunately, this is why we have surface planers and jointers.
Dealing with Pitch:
Pine has a reputation for leaving a lot of pitch (or pine tar) on woodworking blades. While properly curing the pine will help immensely in dealing with excessive pitch, there are still a number of tips that can be used for removing pitch buildup from blades. For basic cleaning, I like to use a quality all-purpose cleaner. My favorite is about three tablespoons of a natural laundry soap (like the liquid laundry soap from Cal-Ben Soap) mixed in a quart spray bottle filled with water. This does a great job of removing pitch from blades and bits, particularly before the pitch buildup has gotten too heavy.
Keep Your Tools Sharp:
In addition to keeping your blades and bits as pitch-free as possible, you should also make certain that your blades and bits are quite sharp when working with pine. Because of the relatively soft nature of the wood, a less than very sharp blade or bit will tend to crush the wood instead of cutting cleanly. This will lead to a lot of chipping and splintering in the cuts, and less than optimum results.
Scratches and Dents:
As mentioned earlier, fresh pine also is relatively easy to dent and scratch. To address this when building with pine, I’m careful to keep a clean work surface, removing any loose wood chips, tools or fasteners from the work table. When working on the shop floor, a cut-up cardboard box will protect the surface of the wood from imperfections in the floor quite nicely. Should a scratch occur, you should be able to remove it relatively easily with a random orbital sander. Dents can be a little more tricky to address. Old-school carpenters commonly use a generous dab of saliva to address a hammer dent in pine. (That’s a nice way to say that they spit on the dent.) The moisture tends to fill into the crushed stock, and 20-30 minutes later, the dent is barely noticeable. While I’m certainly not advocating a similar procedure in the wood shop on a fine woodworking project, the principle is similar. A damp cloth positioned over the spot covered with a hot iron for a few seconds will often remove the blemish. The steam works its way into the fibers and camouflages the dent.
5. IPE
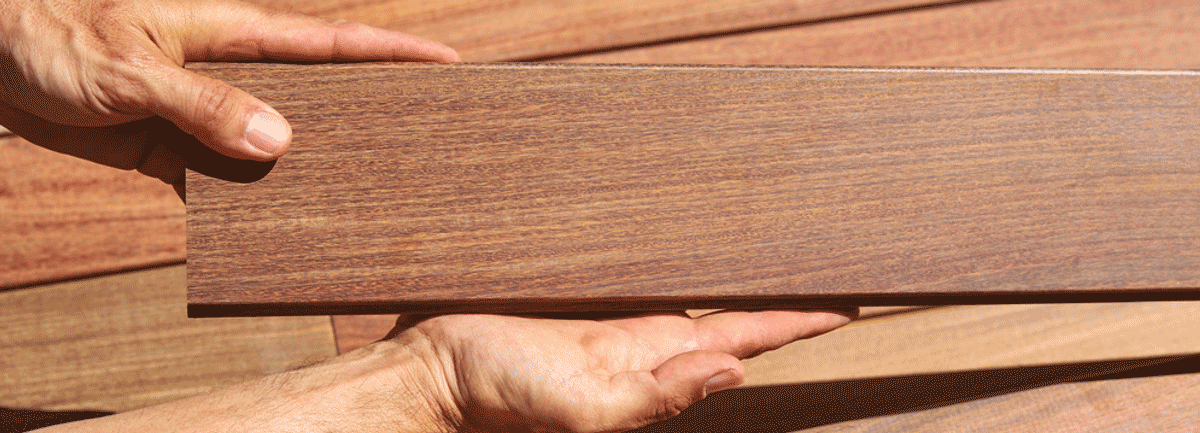
What is Ipe?:
Ipe that is typically sold in fine wood suppliers can often be one of about ten different, but very similar species of wood. All come from Brazil, and all have very similar characteristics, but they tend to be lumped together and sold as ipe.
Why should this matter to you? If you’re planning a deck or a large project, keep in mind that each of these exact species will likely have slight color variations, and will probably look a little different after finishing. Order all of your ipe from one trusted supplier, and order enough to complete the entire project, and you shouldn’t have any visible variations.
Using Ipe:
Ipe’s strength and density makes it a difficult type of wood to cut cleanly. You’ll likely find that your blades and bits will dull quite quickly when cutting ipe, so plan accordingly. As you might expect, sanding ipe can be very time consuming. Ipe produces a very fine, yellowish sawdust that is known to be quite irritating to the eyes and respiratory system.
With this in mind, it might be best to work with ipe outdoors as much as possible, ideally on a windy day. Try using carbide saw blades with fewer teeth at a sharp hook angle to keep from making fine sawdust. If you must cut indoors, use proper ventilation.
Fastening with Ipe:
Ipe is not only very dense and strong, but can be a bit brittle.
Driving nails into ipe with a pneumatic nailer is only asking for splitting, and driving screws into ipe will break off the heads easily. Using stainless steel screws into pre-drilled holes to fasten ipe boards together works best.
Gluing ipe can be a challenge. Some woodworkers have had success using weather resistant yellow glues, while others have had better luck with epoxy formulas. I’d advise wiping down the wood with acetone or denatured alcohol before gluing, to ensure that the surfaces are completely clean.
Filling Screw Holes:
Ipe doesn’t work very well with common wood fillers. Over time, even the best wood fillers seem to dis-lodge from the holes they filled in this wood. One that seems to work well with ipe is to sink the screws at least 1/8″ into the wood, then cut plugs from ipe scrap and plug the screw holes. Another common (but, in my opinion, less desirable) choice is to mix sawdust with waterproof yellow glue to fill the holes.
Finishing Ipe:
Ipe, when left untreated and exposed to weather, will develop a grayish tint similar to faded teak. While some may like this look, others may try to preserve the rich color of ipe by applying a protective finish.
The problem with protectants on ipe is that, once again, because of the density of the wood, the finishes don’t adhere well. Oil-based protectants sometimes can take weeks to dry, while varnishes will look great initially, but may be troublesome down the line. Polyurethane simply doesn’t adhere to ipe, so that’s one to avoid.
Some deck builders have reported success using tung oil to help maintain the color of the wood over time. Some protective finishes used on wooden boats that use different formulas consisting of a combination of tung oil, resins and mineral spirits might be a good choice as well.
Since every person’s preference will be a little different, experimentation to find a finish that meets your tastes is advisable. Be sure that the ipe has had plenty of time to dry properly and acclimatize before applying the finish.
Download 16,000 More Woodworking Plans!

- Instant access to all 16,000 woodworking plans with step-by-step details, photos, materials lists and more!
- Option to have everything on 2 DVDs shipped to your mailbox
- Lifetime membership access – No renewals, recurring fees or other charges
- 100% Risk-Free money back guarantee